The Ultimate Ladies Craft Night: Step-by-Step Guide to DIY Fun, Drinks, and Décor

Affiliate Disclaimer: This post contains affiliate links, which means I may earn a small commission if you make a purchase through these links—at no extra cost to you.
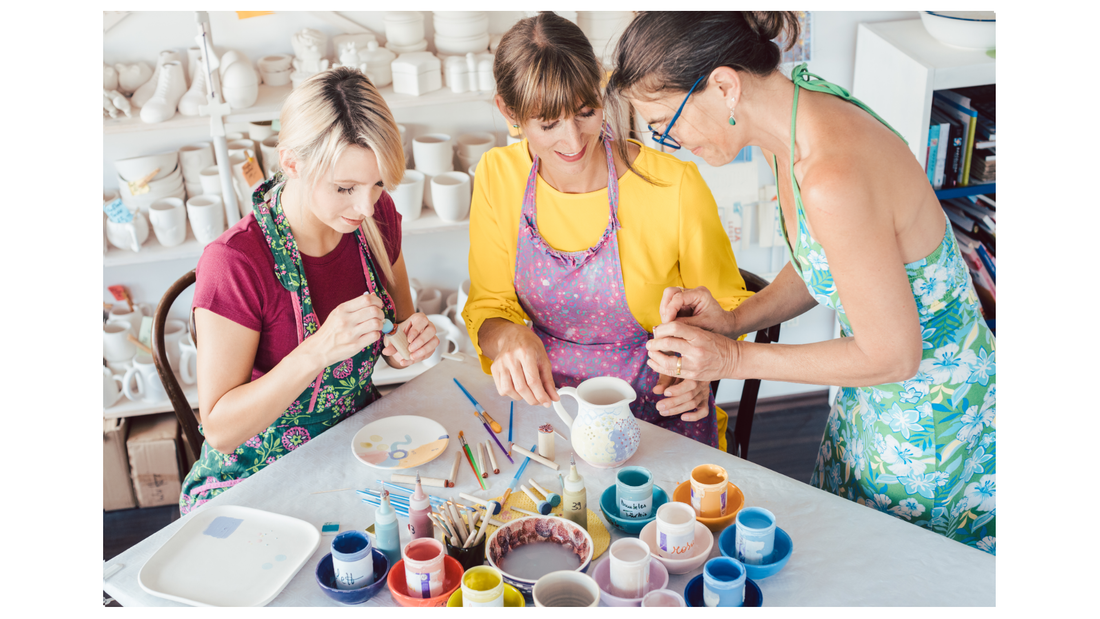
There’s nothing quite like a ladies’ craft night—a perfect mix of creativity, laughter, and quality time with friends. Whether you’re looking to unwind after a long week, celebrate a birthday, or just add a little sparkle to your weeknight, a craft night is an easy, fun way to connect. And let’s be honest: who doesn’t love sipping a drink, nibbling on some snacks, and showing off their artistic side, even if it’s a little messy?
The best part? You don’t need a fancy studio or expensive supplies to pull it off. With a little planning, a few smart purchases, and some creativity, you can transform your living room, dining table, or even a cozy corner into a craft haven. This guide will walk you through everything step by step—from planning and inviting your friends to setting the mood, preparing food and drinks, organizing crafting stations, and finishing your painted wine glasses, tumblers, and mugs. We’ll also share tips on using things you already have at home and making the night fun, stylish, and budget-friendly. And yes, I’ll include links to some of my favorite Amazon supplies so you can snag everything you need without running all over town.
By the end of this guide, you’ll have everything you need to host a craft night that’s memorable, creative, and effortless—your friends will be talking about it for weeks!
Plan the Perfect Craft Night
The key to a successful craft night is planning ahead. While spontaneous creativity is fun, a little preparation ensures that everyone has a smooth, enjoyable experience. Here’s how to start:
Choose a Date and Time
Pick a date that works for the majority of your friends, ideally on a weekend evening or a weekday night when everyone can unwind without rushing. Consider giving your guests at least two weeks’ notice—it allows them time to plan, and builds anticipation for the event.
Decide on Your Guest List
Think about the vibe you want to create. Smaller groups of 4–6 people are perfect for intimate, hands-on crafting where everyone can chat and move around comfortably. Larger groups can work too, but you may need extra supplies and space. Mix personalities thoughtfully—some guests may love chatting while painting, while others might enjoy a quieter focus.
Set a Theme or Vibe
A theme can make your night feel extra special. Think cozy boho with fairy lights and neutral tones, or glam with metallics and sparkle paints. Even a simple “wine & painting” theme adds cohesion to decorations, invitations, and drinks. Choosing a color palette or a type of craft (like painting glassware) makes the night feel curated and intentional.
Make a Supplies Checklist
Create a list of everything you’ll need for your craft night:
- Wine glasses, tumblers, or mugs for painting
- Paints, brushes, markers, stencils, and sealants
- Craft mats, newspapers, or disposable tablecloths to protect surfaces
- Cups of water, paper towels, and cleaning wipes
- Optional extras: glitter, decals, or stamps for added fun
Prep Your Space
Decide where the crafting will happen. A dining table or large coffee table works well. Cover surfaces with craft mats or newspaper. Make sure there’s enough seating and workspace for each guest, with access to all supplies. Keep cleanup easy by having trash bags or bins nearby, and set up drying racks or areas where painted items can safely set while you continue the night.
Planning doesn’t have to be stressful—it’s all about creating a space where your friends feel welcome, inspired, and ready to have fun. A little preparation goes a long way to make the night flow seamlessly.
Invitations That Set the Mood
Once you’ve planned the basics of your craft night, it’s time to get your friends on board. The right invitation can build excitement and set the tone for the entire evening.
Digital or Printed Invitations
Digital invitations are quick, convenient, and eco-friendly. Platforms like Canva, Evite, or even a simple group message allow you to create beautiful, themed invites in minutes. You can match your invite colors and style to your craft night theme, giving guests a peek into what’s coming. If you want something extra special, printed invitations add a personal touch and can even double as keepsakes from the night.
Wording Ideas
Keep your invite fun, friendly, and clear. Include all the key details: date, time, location, and RSVP instructions. Add a playful line about the craft itself, like:
- “Sip, paint, and laugh—join us for a cozy wine glass painting night!”
- “Bring your creativity (and your favorite beverage) for a crafty girls’ night in!”
- “No artistic experience required—just your sparkling personality!”
If you’re including any prep instructions, like bringing a favorite mug to paint or a specific outfit, make it clear but lighthearted.
RSVP and Prep Info
Ask guests to RSVP so you can plan your supply quantities accordingly. If some guests want to bring drinks, snacks, or additional crafting materials, make a small note. Clear communication ensures everyone shows up ready to enjoy the night and avoids last-minute scrambling.
Optional Pinterest Inspiration
Include a small note in your invite linking to a Pinterest board or images with ideas for the night’s crafts, table setup, or drinks. This gives guests a visual idea of the fun ahead and can also inspire them to come prepared with a little extra creativity.
Invitations aren’t just logistics—they’re your first chance to excite your friends and get them looking forward to the night. A thoughtful invite sets the stage for a memorable evening.
Setting the Vibe
The atmosphere of your craft night is just as important as the craft itself. A well-set space makes everyone feel welcome and ready to get creative.
Table Setup
Start with a clean surface. Cover your table with a disposable tablecloth, craft mats, or even newspapers to protect it from paint spills. Set up individual workstations with all the essentials: glasses, mugs, tumblers, paintbrushes, paints, water cups, paper towels, and any stencils or decorative extras. Place drying racks nearby so guests can leave their items safely while continuing to craft.
Lighting
Good lighting is key, both for seeing the details of your craft and for creating a cozy vibe. Natural daylight is ideal, but if your craft night is in the evening, use a combination of soft overhead lighting, table lamps, and string lights or fairy lights. Candles can add a warm, relaxing glow—just make sure they’re safely placed away from painting stations.
Music Playlist
Create a playlist that keeps the energy relaxed but lively. Upbeat acoustic, light jazz, or pop favorites can help set a fun, sociable atmosphere. Keep the volume moderate so guests can chat and laugh without shouting over the music.
Craft Stations Layout
Organize your supplies logically. Place paints and brushes in the center, or create mini stations for different items. Make sure each guest has enough room to move around without bumping into each other. Labeling paints or having sample designs on display can also inspire creativity.
Protecting Furniture
Even with careful setup, spills happen. Use plastic covers, old tablecloths, or craft mats to protect floors, counters, and furniture. Keep cleaning supplies nearby—wet wipes, paper towels, and small trash bins make cleanup quick and painless.
Setting the vibe isn’t just about aesthetics—it’s about making your friends feel comfortable, inspired, and ready to relax into the evening. A little attention to detail ensures everyone can enjoy themselves from the moment they arrive.
Food, Drinks, and Snacks
No craft night is complete without a spread that keeps everyone fueled and happy. The key is simple, easy-to-eat items that won’t get in the way of painting, sipping, and laughing.
Drinks
Consider offering a mix of alcoholic and non-alcoholic options so everyone feels included. Wine is a classic choice for a “paint and sip” vibe, but sparkling water, juice, or mocktails can be just as festive. You can even make a small drink station with pitchers, glasses, ice, and garnishes like lemon, lime, or fresh berries.
Pro Tip: Use a variety of glassware—wine glasses, tumblers, and mugs—to match the crafts you’ll be painting. Guests can sip from the same type of item they’re decorating, which adds to the fun.
Snacks
Go for bite-sized, low-mess foods. Think finger sandwiches, cheese boards, veggie platters, or mini quiches. Avoid anything too greasy or crumbly that could ruin paint supplies. Sweet treats like cookies, brownies, or chocolate-covered strawberries add a touch of indulgence without taking over the table.
Setup
Place food and drinks on a side table or buffet-style area to keep the main craft table free of clutter. Small plates, napkins, and easy-to-use utensils help your guests serve themselves quickly and stay in the creative zone.
Optional Fun Extras
You can also add a small game or icebreaker to get everyone laughing before painting. For example:
- “Two Truths and a Lie”
- Quick trivia or themed guessing games
- A fun “design challenge” where everyone decorates a mini item in five minutes
Keeping the food simple and the drinks accessible ensures your guests can focus on the craft and the company without distractions.
Crafting the Glassware
Now for the star of the night: painting your glasses, tumblers, and mugs. Here’s a step-by-step guide to make it fun, creative, and mess-free.
Supplies You’ll Need
- Wine glasses, tumblers, or mugs (Can buy separate, but these kits from Amazon are amazing and have everything you need...win-win!)
- Glass paints or markers suitable for ceramics and glass
- Brushes, sponges, or stencils
- Painter’s tape for designs
- Newspaper, craft mats, or disposable tablecloths for protection
- Oven (for heat-set paints if required by your paint brand)
Step 1: Prep the Glassware
Clean each item thoroughly with soap and water, then dry completely. Any dust, oil, or residue can prevent the paint from sticking. For mugs, remove labels and soak if needed.
Step 2: Plan Your Designs
Encourage guests to sketch designs on paper first. Simple patterns like stripes, polka dots, geometric shapes, or names are perfect for beginners. You can also provide stencils or tape to create precise lines.
Step 3: Painting Techniques
- Wine Glasses: Use fine brushes for delicate designs around the bowl or stem. Metallic paints or glass markers work beautifully.
- Tumblers: Larger surfaces are perfect for bold designs, ombre effects, or layering colors. Wrap painter’s tape for stripes or patterns.
- Mugs: Highlight the handle or outside surface with fun quotes, seasonal designs, or color blocking.
Step 4: Drying and Heat-Setting
Follow your paint manufacturer’s instructions. Many glass paints require heat-setting in the oven to become dishwasher safe. Place items on a lined baking sheet, and remember: don’t touch them until fully cooled to avoid smudges.
Step 5: Display and Take Home
Once painted and set, create a small display area for guests to admire everyone’s work. Encourage photos—this doubles as a memory and a fun social media moment. At the end of the night, guests can carefully pack their masterpieces to take home.
DIY Drinkware Projects: Mugs, Wine Glasses, and Tumblers to Paint
No craft night is complete without a hands-on activity that’s fun, social, and leaves you with something you can actually use. Painting your own drinkware—mugs, wine glasses, or tumblers—is the perfect centerpiece for your evening. Whether you’re crafting solo or with friends, these kits make it easy to unleash your creativity while sipping, chatting, and enjoying the night. Here are three amazing kits that I recommend for an unforgettable craft night:
Paint Your Own Mugs

Start your craft night with a classic that everyone loves: mugs! The Pickmesh DIY Ceramic Mugs Painting Kit includes two white ceramic mugs, vibrant paints, brushes, and illustrated instructions to guide you through your designs. Whether you’re making matching mugs with a friend or creating a playful solo project, this kit has everything you need.
The mugs are oven-safe once baked, so your designs become permanent and dishwasher-safe—perfect for enjoying your creations daily. This set is ideal for beginners, as the instructions are easy to follow and the paints are vibrant, forgiving, and fun to use.
Paint Your Own Wine Glasses

Next, elevate the evening with a touch of elegance using the Pickmesh Wine Glass Painting Kit. This set includes 6 sturdy stemmed wine glasses, 12 marker pens, and 24 acrylic paints in a variety of colors. The glasses provide ample space to express your creativity, whether you’re crafting intricate designs or bold, fun patterns.
After painting, you can let them air-dry for 24 hours and then bake them in the oven for permanent results. These glasses are also great as gifts or keepsakes, making them perfect for crafting with friends or family.
Check out the Wine Glass Painting Kit here
Paint Your Own Tumblers

For a practical twist, the Pickmesh DIY Tumblers Painting Kit includes 6 16-oz can-shaped glass tumblers with bamboo lids and straws, plus cleaning brushes, markers, and acrylic paints. These tumblers are perfect for crafting a unique cup to enjoy throughout the day or to give as thoughtful, personalized gifts.
The durable glass surface is smooth and easy to paint on, and you can bake your designs in the oven or let them air-dry over 7 days. This set adds a fun and functional element to your craft night, giving you beautiful tumblers you’ll actually use.
Get your DIY Tumblers Kit here
These three kits cover mugs, wine glasses, and tumblers, giving your guests options to choose their favorite medium or try them all. Together, they create a creative, interactive, and memorable craft night that’s fun for everyone.
Wrapping Up Your Perfect Craft Night
Craft nights are more than just painting and gluing—they’re about connection, creativity, and a little bit of indulgence. Whether you’re hosting a solo creative session or inviting friends over, planning ahead, setting the mood, and having the right supplies makes all the difference. By choosing fun, versatile projects like paint-your-own mugs, wine glasses, and tumblers, you’re giving yourself and your guests an experience that’s both hands-on and memorable.
Remember, it’s not about perfection- it’s about enjoying the process. Every splash of paint, quirky design, or unique color combination tells a story. And the best part? At the end of the night, you have beautiful, personalized creations that are both functional and fun.
Hosting Tips for a Smooth and Memorable Craft Night
1. Set the Scene:
Create a cozy, inspiring space for your guests. Good lighting, comfortable seating, and a clutter-free surface make painting and crafting easier. A table runner or disposable tablecloth can save cleanup time while keeping the vibe chic.
2. Keep Supplies Handy:
Organize paints, brushes, markers, cups for water, paper towels, and protective aprons ahead of time. For larger groups, consider creating small stations so everyone has easy access to everything they need.
3. Serve Snacks and Drinks:
Keep the energy up with light finger foods, sweet treats, and a few beverage options. Wine, sparkling water, or fun mocktails pair perfectly with a craft night. If you’re painting wine glasses, let your guests enjoy their creations immediately!
4. Encourage Creativity, Not Perfection:
Remind everyone that it’s about having fun, experimenting, and embracing imperfections. Offer ideas and inspiration but don’t micromanage—it’s their art, after all!
5. Plan Ahead for Drying/Baking:
If your projects require oven-baking (like the mugs and glasses), prep instructions in advance so guests can finish their pieces properly. Consider assigning a “baking station” in your kitchen or letting guests take unfinished pieces home to finish safely.
6. Add Games or Icebreakers:
Keep the energy lively with a few small games, icebreakers, or conversation prompts. Simple craft-related challenges or a mini contest can add laughs without turning the night competitive.
7. Create a Takeaway:
Provide bags, boxes, or tissue paper for guests to take home their creations. A small note or fun label adds a personal touch and helps everyone remember the night.
With these steps, your craft night is set to be fun, relaxed, and totally stress-free, leaving you and your guests with memories and handmade treasures that last long after the paint has dried. Whether you’re painting mugs, wine glasses, or tumblers, you’re giving yourself a night of creativity, laughter, and connection- all without leaving the comfort of your home.
See you in the Store,
Shannon & Shelbee
Check out our store: spineandspace.store
Follow us on socials: Instagram, Facebook, Pinterest, YouTube and TikTok.